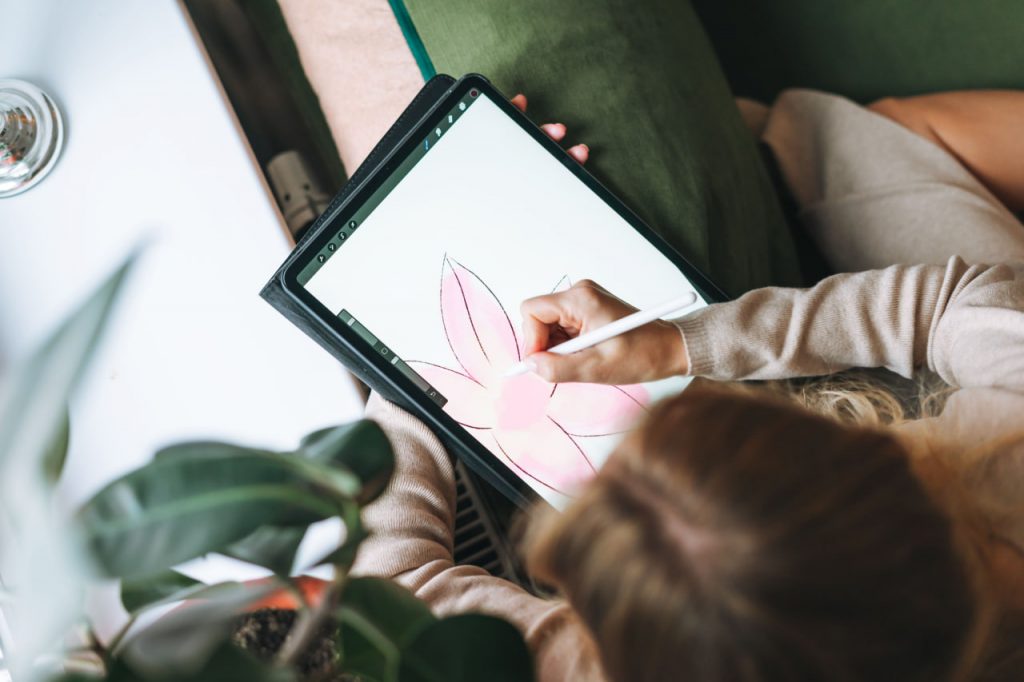
Introduction: Creating digital portraits is one of the most rewarding forms of digital art. Whether you’re capturing a friend, a family member, or creating a fantasy character, digital portraiture allows you to bring your vision to life in a detailed and expressive way. In this guide, we’ll walk you through each step of the process, from sketching the basic outline to adding final touches that make your portrait stand out.
Step 1: Start with a Rough Sketch
The first step in creating any digital portrait is to sketch the basic outline of the face. This is where you’ll define the proportions, positioning, and overall structure of the portrait. Use light, soft lines to create a rough outline, keeping in mind the position of the eyes, nose, mouth, and ears.
Tips:
- Use guidelines to map out facial features: a vertical line for symmetry and horizontal lines for eye and mouth placement.
- Focus on getting the proportions right rather than worrying about detail at this stage.
- If you’re working from a reference photo, make sure you capture the unique details of the subject’s face.
Step 2: Add Base Colors and Shadows
Once your sketch is in place, it’s time to add the base colors for the skin, eyes, hair, and any other visible features. Start with flat colors for each element before adding depth with shadows and highlights.
Tips:
- Use a soft brush for blending and layer the colors gradually to create smooth transitions.
- Pay attention to light sources in your reference photo or concept. Shadows should follow the direction of light, creating a more realistic feel.
- Don’t forget to add different hues to the skin tone—people’s skin isn’t a single color, so subtle variations can add life and depth.
Step 3: Refine Facial Features
Now that you have the basic shapes and colors, it’s time to focus on refining the facial features. Start by carefully outlining the eyes, nose, and mouth, paying attention to their unique characteristics and details.
Tips:
- For eyes, focus on the reflection of light and the color of the iris and sclera (the white part of the eye) to make them appear more lifelike.
- Add subtle shading around the nose and under the chin to enhance the three-dimensionality of the face.
- When drawing the mouth, consider the expression. Is the subject smiling, neutral, or frowning? This will impact how you shape the lips and add highlights and shadows.
Step 4: Add Hair and Textures
Hair can often be one of the most challenging elements of a portrait, but with the right approach, it can really make your digital portrait come to life. Start by painting the overall shape of the hair, then use finer details to add texture and volume.
Tips:
- Use a combination of soft and hard brushes to create both the base and texture of the hair.
- Work in layers to create depth—don’t be afraid to use different shades to add light and dark areas.
- For more realistic hair, paint strands individually or in small sections, paying attention to the way the light interacts with the hair.
Step 5: Work on Lighting and Depth
Lighting plays a critical role in bringing your digital portrait to life. Once the facial features, hair, and base colors are complete, focus on refining your shading and adding highlights and shadows to give the portrait depth.
Tips:
- Add highlights to the high points of the face (such as the forehead, nose bridge, and cheekbones) to simulate the effect of light.
- Deepen the shadows under the jawline, nose, and in areas where light is blocked.
- Use the “Multiply” layer mode to add darker tones and the “Overlay” or “Soft Light” mode for highlights.
Step 6: Add the Final Details and Polish
Once you have the general structure and shading of the portrait in place, zoom in and start adding the finer details that will elevate the portrait to the next level. These could include skin texture, finer details in the eyes, and small highlights that add realism to your work.
Tips:
- Use smaller brushes for intricate details like skin pores, eyelashes, and reflections in the eyes.
- Experiment with texture brushes to add realism to clothing, skin, or other surfaces.
- Don’t be afraid to step back and view your work from a distance—this will help you see if there are any areas that need more definition or refinement.
Conclusion:
Creating stunning digital portraits takes practice, but by following these steps and focusing on each element in your artwork, you’ll be able to craft beautiful, realistic portraits that showcase your skill and creativity. Remember to be patient and enjoy the process—each step helps you improve as an artist. Keep practicing, and soon your digital portraits will stand out in both detail and expression!

